
A few months ago, my husband and I were talking about how we could try to use less paper products in our home. We do pretty good with using really plates. But we use an inordinate amount of paper napkins, actually our kids do, not exactly us ;) But we figured we could improve in that area. So, since then, we have been on the lookout for high quality cloth napkins that we can us over and over.
I started selling Moda Fabrics this past August and I found out that they actually have an area of their brand called Moda Home. They have really wonderful vintage items. I ordered a few kinds of their napkins because they looked so pretty, I couldn't resist.
This Very Berry one-

This Candy Cane Christmas one-

And this Santa one-

You can buy these here in my Etsy Shop.
The other thing I discovered that Moda sells is toweling. This toweling is amazing! It is 100% cotton and it is hemmed on both sides. The toweling has a vintage style so it is nostalgic too.
Among many things, you can use it to make kitchen towels, aprons, and cloth napkins.
It makes the nicest cloth napkins!!! They wash up nice. I haven't had problems with permanent staining. The feel really nice and they do a good job of wiping your hands clean. I really love them.
You can buy toweling here.
I wanted to do a quick tutorial on how I use this toweling to make my cloth napkins. For these napkins, I just do a standard corner. Its super easy to do.
First you need to measure your toweling. Moda advertises that the toweling in 16" wide. Its actually 16"-17.5". So you need to measure your to find the exact size so you can make square napkins. Here mine was 17.5" so we are going to use that measurement going forward.

On the sides that aren't hemmed, you want to use a double fold so that the napkin fabric doesn't unravel as its being used or washed. I decided that I would do the first fold at 1/4" and the make the 2nd fold 1/2". The pre-hemmed edges are 1/2" so I wanted to match that.

To determine how big to cut your napkin, you add 1.5" to the width of your fabric. My napkin measured 17.5", so I cut my fabric to 19". Once the double folded hems are completed on each side, this will give me a 17.5" square napkins.
I used a Frixion pen and drew a line across the non-hemmed sides at 1/4" from the edge and the 1/2" from there. Then I used my iron and pressed along the 1/4" line. Next, I folded along the 1/2" line and pressed along that line too. Once I had both sides pressed, I took the napkin to the sewing machine.
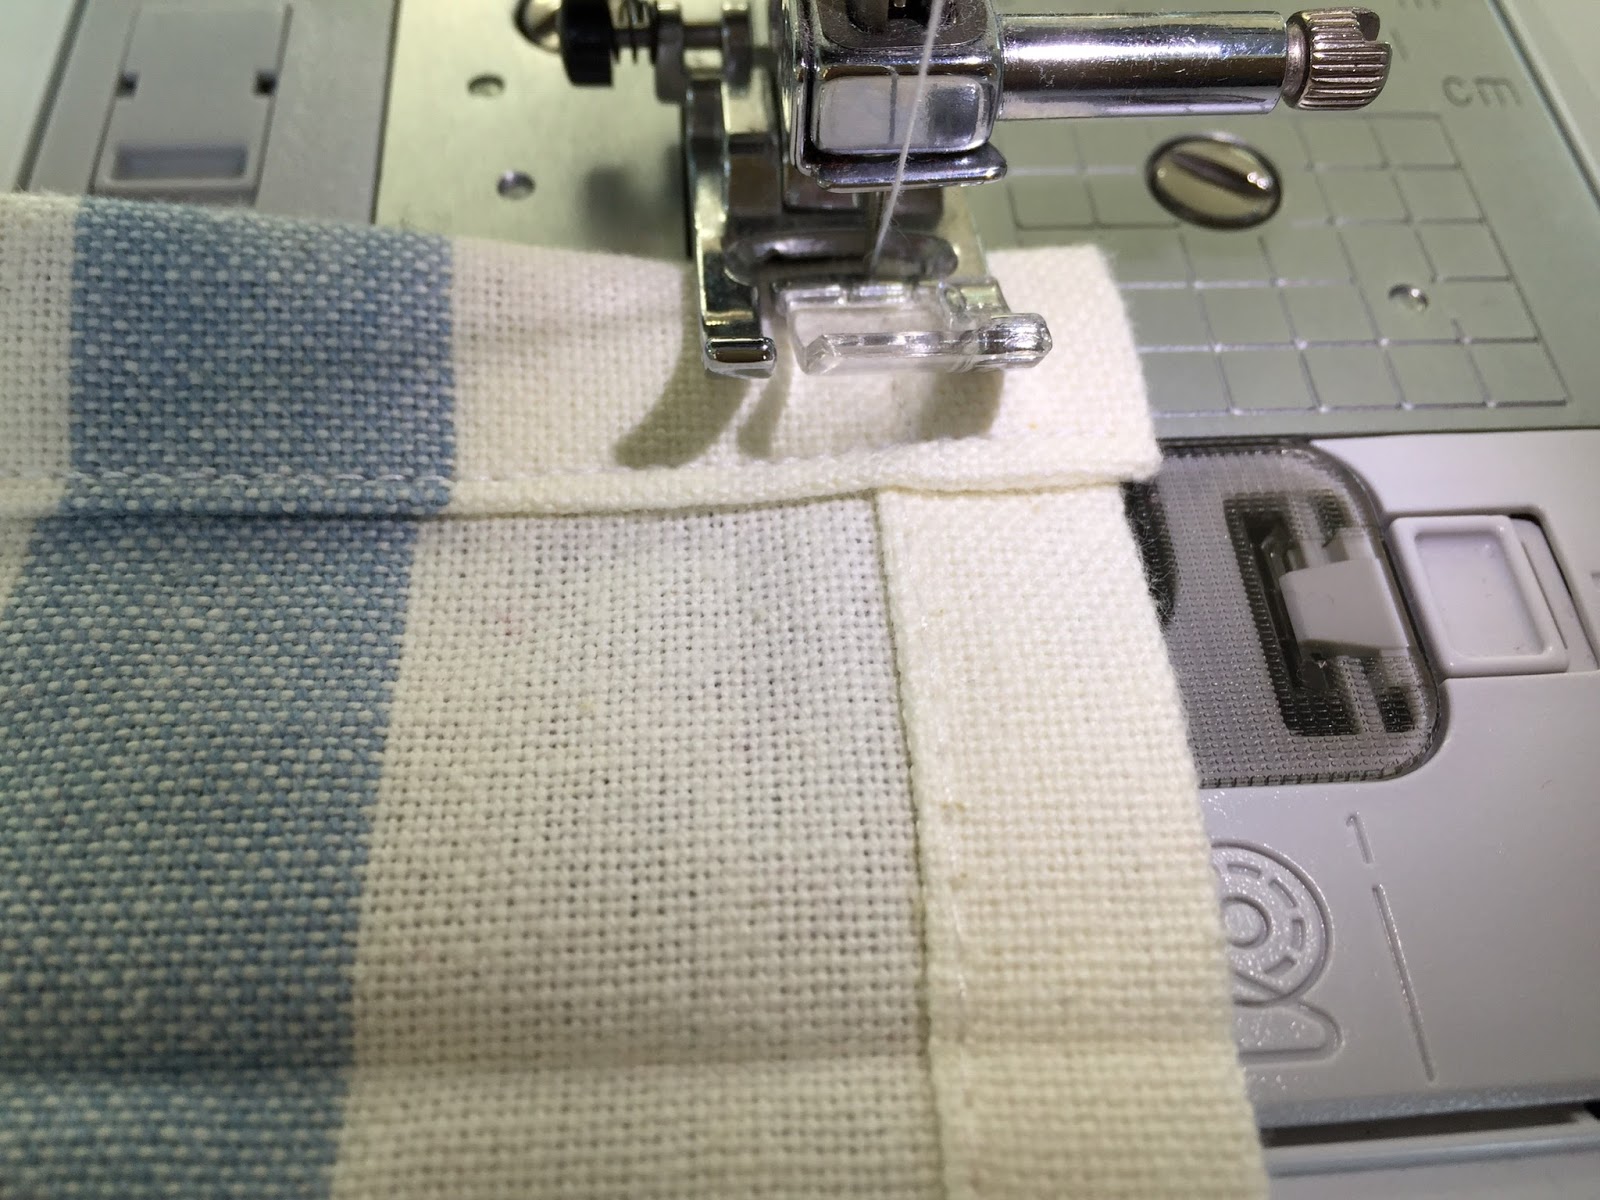
You need to line up your needle with the pre-existing hemline. Sew along that line for an inch or two, backstitching a few times in the beginning to secure the stitches.

Sew straight down to the edge, but not off the edge.

Lift and your pressor foot and pivot the napkin around 180 degrees.

Sew along the line you just made but stop right at the your new hemline.

Lift up your pressor foot again, spin the napkin 90 degrees. Now you are working along you new hemline.

Sew to the edge, but not off the napkin.

Lift up your pressor foot again, spin the napkin 180 degrees.

Now you are going to sew all the way across your new hem.

Continue along and sew straight to the edge, but not off the edge.

Lift up your pressor foot again, spin the napkin 180 degrees.

Sew along the line you just made but stop right at the intersection of the side hemline.

Lift up your pressor foot again, spin the napkin 90 degrees, so that you are sewing towards the edge of the napkin (not up the pre-hemmed side).

Sew down to the edge, but not off, the napkin.

Lift up your pressor foot again, spin the napkin 180 degrees.
Sew along the line you just made and continue up the pre-existing hemline for an inch or two. Backstitch a few times to secure your stitches. Cut your threads.

You are all finished! And your corners look beautiful :)


I hope you enjoyed this tutorial! And I really hope you enjoy using your new cloth napkins too!
Comments
Post a Comment